The First draft
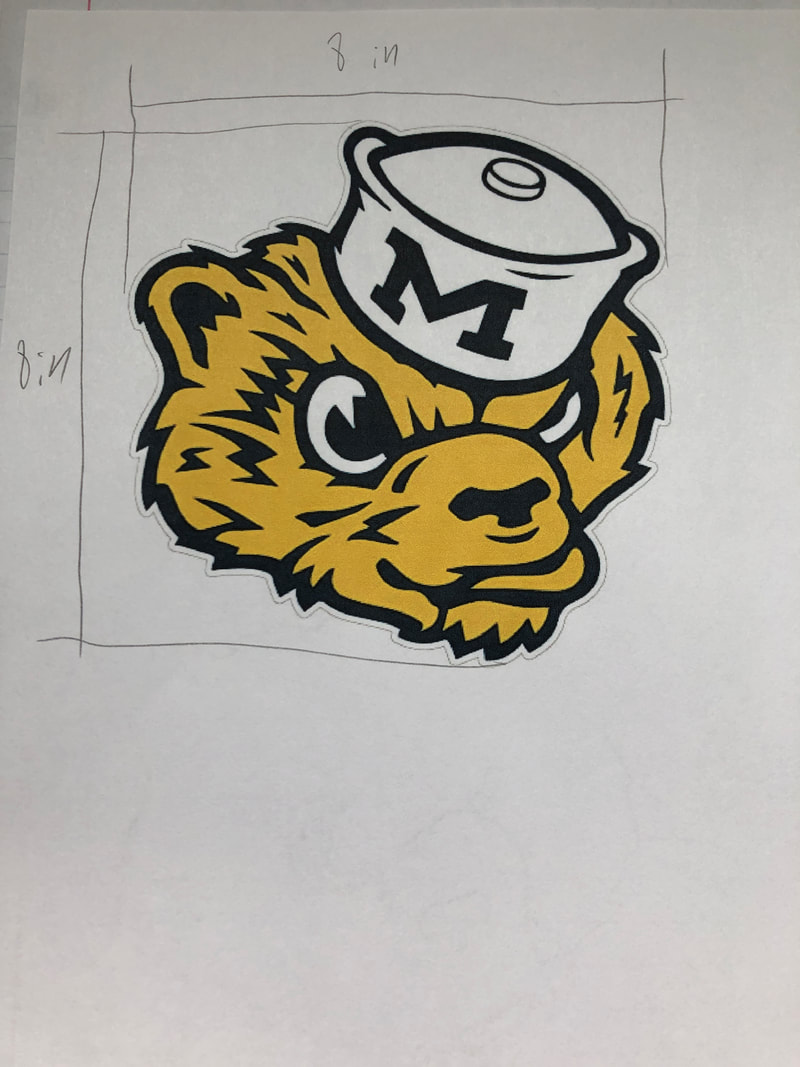
This was my first draft of what I wanted as a decal. I later realized that 8 by 8 inches was a very big decal and would not fit my notebook so instead I proportioned it to 6 by 6 inches.
Getting the Decal Setup

The PictureThe first thing that I had to do was find a picture that I wanted to turn into a decal.
|

Into IllustratorI then had to copy and paste the picture into illustrator. I don't have the picture at the moment because of the quarantine but once we are back to school, I will update the picture.
|
Separate the PiecesI then had to separate the three colors from each other because the vinyl cutter can only cut 1 color at a time. I don't have the picture at the moment because of the quarantine but once we are back to school, I will update the picture.
|
Installation of Decal
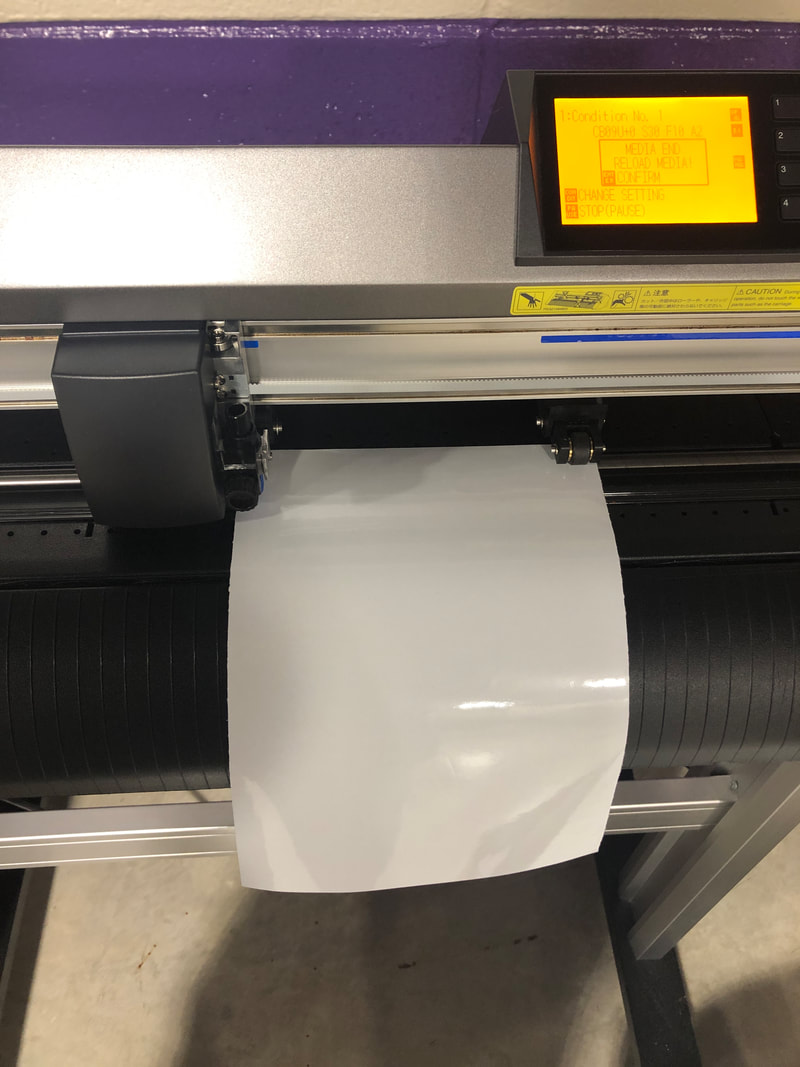
Vinyl cuttingOnce I had all of my pieces designed in Illustrator, I had to find the right colors for my decal and then I had to have the Vinyl cutter cut out the designs.
|
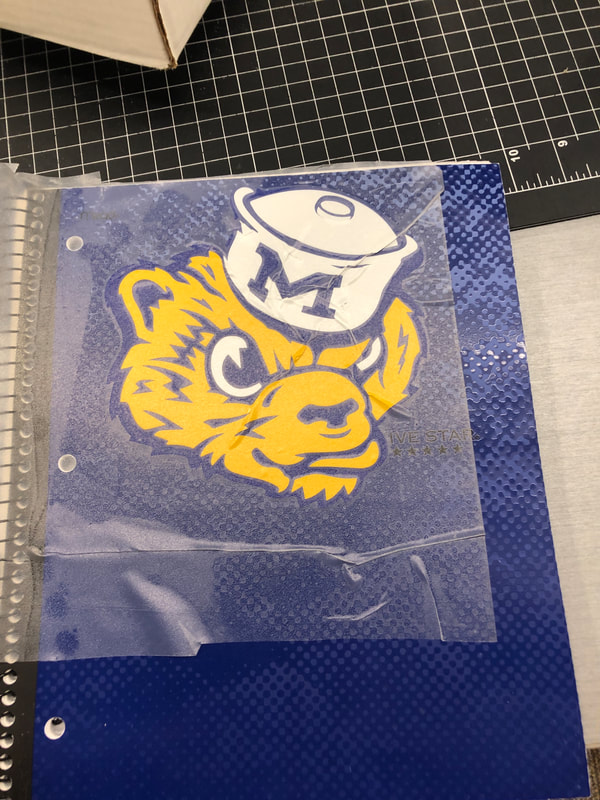
Apply to NotebookAfter all of the vinyl was cut, I had to apply the vinyl together and then apply it to the notebook.
|
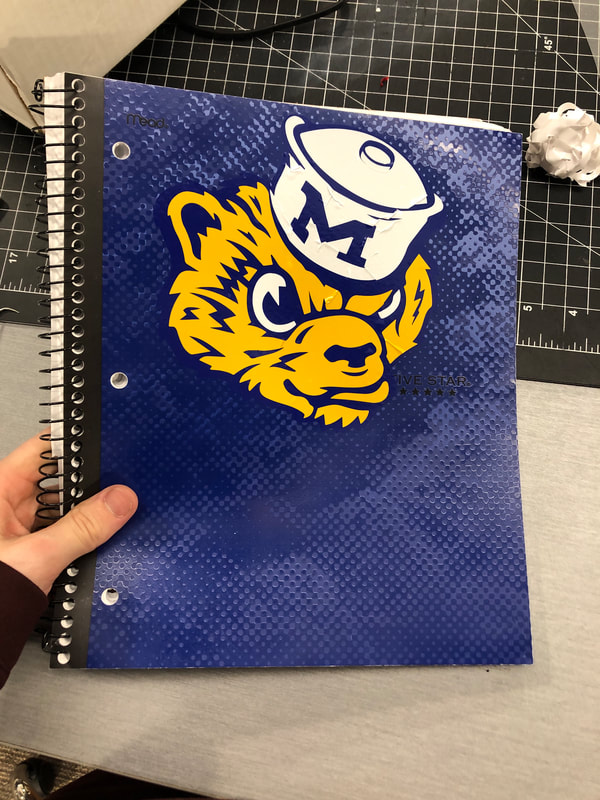
Final PictureAfter pulling of the clear tape, this is what the decal looked like.
|
